How an OEM Order Works: Private Label Ultrasonic Cleaners
How a private label ultrasonic cleaner order works, step by step: from the first inquiry to choosing a model, confirming a sample, artwork, production, testing and shipment. Minimum order 300 units.
Ordering a private label ultrasonic cleaner is not the same as ordering a single machine for your own bench. You are asking for a product that will carry your brand, match your market, and arrive ready to sell. That takes a few more steps than a standard order, but none of them are complicated once you know the sequence. This guide walks through a typical OEM order step by step: from the first inquiry, through choosing a model and a configuration, confirming a sample, approving the front panel and packaging artwork, production with aging tests and quality checks, and finally loading and shipment. The minimum order for private label is 300 units. You can read more about our OEM and ODM services before you send your first inquiry, so you know what to expect at each stage.
Step 1: Start with an Inquiry
Every OEM order starts with an inquiry. In your first message, describe what you want to sell and who will buy it. The most useful details are the type of cleaner you have in mind, the tank size or capacity you need, the kind of parts your customers will clean, and the quantity you expect to order, keeping in mind the 300-unit minimum for private label. If you already sell a similar product, say what you like about it and what you would like to change. If you are starting from scratch, say who your customers are and where the product will be sold, because the voltage and plug type, the language on the panel and the packaging all depend on the market. The more clearly you describe the use, the faster the discussion moves to a model that fits.
At this stage you do not need to have every detail decided. The purpose of the first inquiry is to agree on the direction: the model family, the tank size, the main features, and the quantity. Ask questions freely at this point, because it is much easier to change a configuration before a sample is made than after production has started. Confirm lead time in your inquiry, so the schedule can be planned around your order. If you have a target date for receiving the goods, say so early, because that affects how the steps that follow are scheduled. A good inquiry is not long; it is specific about the product, the market and the quantity.
Step 2: Choose the Model and Configuration
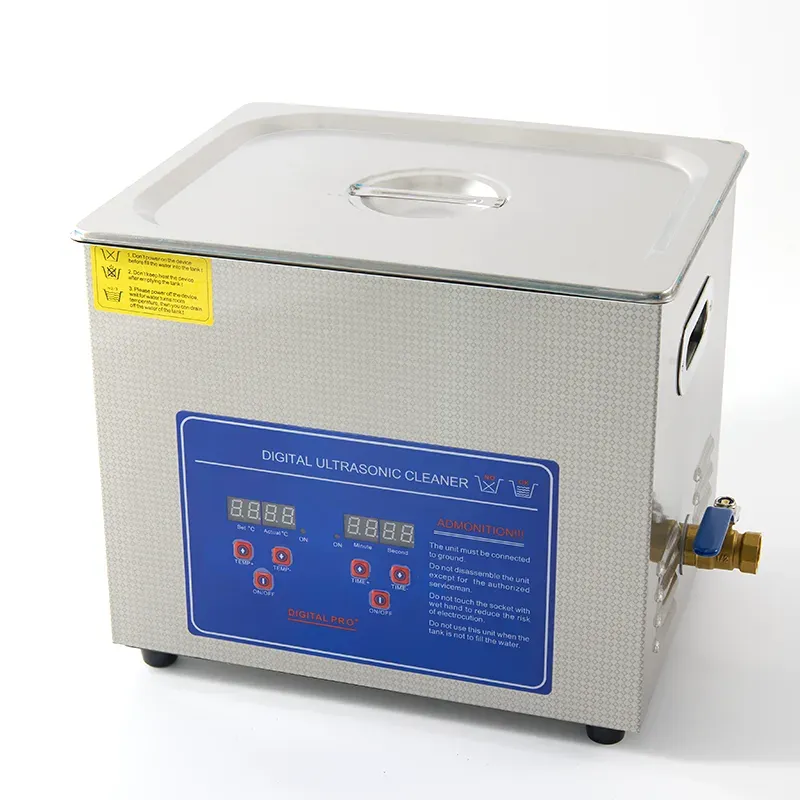
Once the direction is agreed, the next step is to choose the model and its configuration. The model sets the tank size, the control style and the main features, while the configuration sets the details that make it yours: the voltage, the plug type, the language on the front panel, and the packaging. For many buyers, a mid-size digital model is a practical starting point: a tank such as the 10L Digital Ultrasonic Cleaner with Heater and Degas suits workshops and service benches that clean tools, hardware and small assemblies, and it is a useful reference when you compare sizes, because you can picture what fits in a 10-litre tank and what needs a larger one. If your customers clean jewellery, glasses or dentures, a smaller countertop model will fit better; if they clean engine parts or large tools, a larger tank will be needed.
Voltage and plug type are part of the configuration, and they should be decided for the market where the product will be sold. Common options are 110V and 220V, with US, EU and UK plugs, and the right combination depends on the country of sale. State the destination market when you confirm the configuration, so the voltage and plug are matched to it. The front panel is also part of this step: decide what the panel should say, in which language, and whether the controls and the display should match the standard layout or carry your own labels. Any change to the panel, the logo or the packaging should be agreed at this stage, because those are the parts that are prepared for the sample.
Step 3: Confirm the Sample
With the model and configuration agreed, a sample is prepared for you to confirm. The sample is a working machine built to the configuration you chose, with the front panel and logo applied as agreed. When you receive it, check it the way your customers will use it: fill the tank, run cleaning cycles with the kinds of parts your customers clean, and check the controls, the heater, the timer and the drain. Look at the finish of the tank and the case, the quality of the printing on the panel, and the way the basket and the lid fit. A sample is also the right time to check the packaging: open the box, look at the inner protection, and check that the machine, the basket, the lid and the cable are all held in place.
Write down everything you notice, even small points, and send your comments back in one message. Small changes at this stage are normal: a label that needs to move, a word that needs to change, a colour that needs to be stronger, or a detail on the panel that is not clear. The sample is confirmed only when you are satisfied with it, so take the time to test it properly. Once you confirm the sample, it becomes the reference for production: the machines that follow should match the sample in configuration, finish and packaging.
Step 4: Confirm the Front Panel, Logo and Packaging Artwork
Private label is about the details that carry your brand. The front panel, usually called the faceplate or the sticker on the front of the machine, is where your brand name and logo appear, together with the control labels. The body of the machine can also carry your logo, in the position and size you agree. Before production, you will be asked to approve the artwork for the panel, the logo and the packaging. Check the spelling of every word, the size and position of the logo, the colours, and the language of the labels. Ask for a proof you can look at on screen, and check it against the sample you confirmed, so the panel on the production machines matches the panel on the sample.
Packaging artwork is confirmed in the same way. The standard shipment uses neutral packaging, which carries no brand markings on the outside of the shipping carton, and your own branded packaging artwork is prepared for the inner box and the product box where that has been agreed. Confirm the size of the box, the way the machine is protected inside it, and the markings that must appear on the carton for your market. Keep a copy of every approved artwork file, and keep the approved versions in one place, so that a later order can repeat the same panel and packaging without starting the artwork again.
Step 5: Production, Aging Tests and Quality Checks
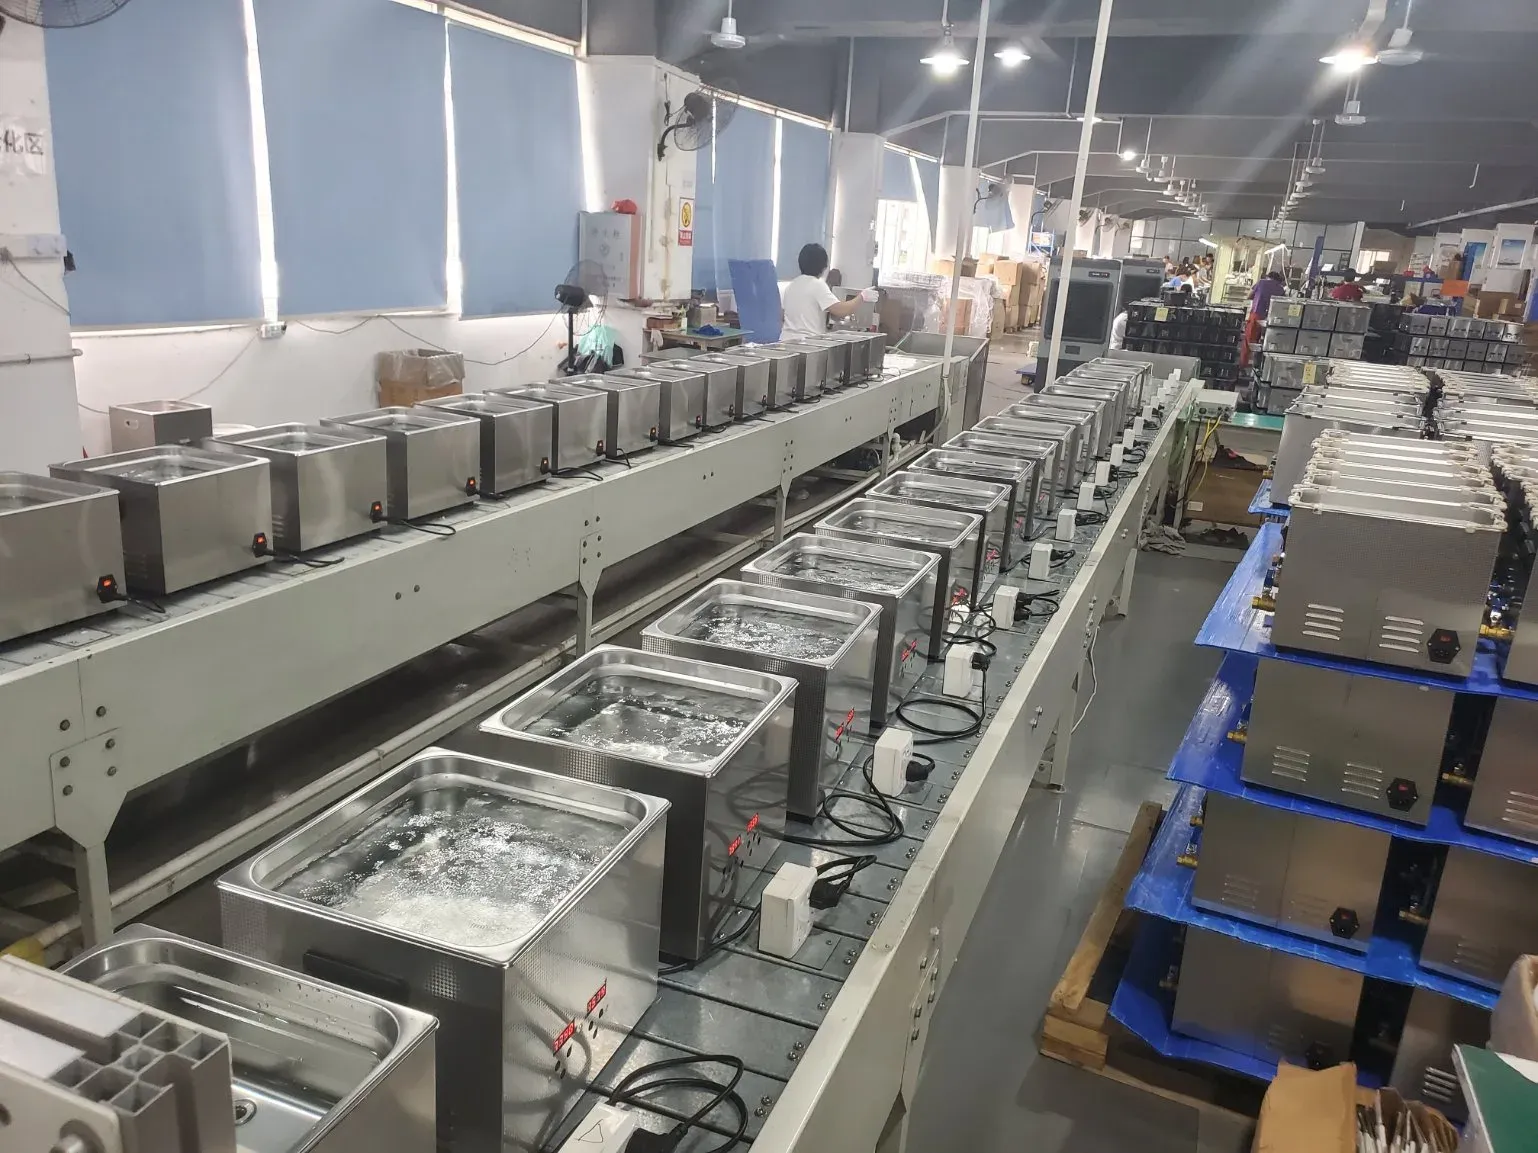
Once the sample and the artwork are confirmed, production can begin. The machines are assembled to the configuration you agreed, with your front panel and logo applied, and the packaging prepared to match. During production, machines are checked as they are assembled, and finished machines are put through aging tests. An aging test means running the machine for a period under working conditions, so that any early problem shows up before the machine is packed. It is a routine part of preparing a batch for shipment, and it is one of the reasons the sample step matters: the production machines are checked against the same standard as the sample you approved.
Quality checks at this stage cover the points you would check yourself: the tank, the controls, the heater and the timer work as they should, the panel and the logo are applied cleanly, the basket and the lid fit, and the packaging is complete. If a machine does not pass a check, it is set aside for adjustment rather than packed. When the batch is ready, the machines are counted, packed in their boxes with the basket, the lid and the cable, and prepared for loading. Ask for photographs of the packed goods and of the loading if you would like a record of how the order left the warehouse.
Step 6: Loading and Shipment
The last step is loading and shipment. The packed machines are loaded into the container or the vehicle in an order that keeps the cartons stable and protects them in transit, with the cartons stacked so that the weight is spread evenly and the boxes are not crushed. The cartons are counted as they are loaded, and the count is checked against the order quantity. Once loading is complete, the shipment is booked and the shipping documents are prepared. Keep the packing list and the order details with your copy of the confirmed sample and the approved artwork, so that when the goods arrive you can check the quantity, the model, the voltage and plug type, and the packaging against the order you confirmed.
What to Prepare Before You Inquire
A short checklist will make your first inquiry faster to answer. Note the tank size or capacity you need, the quantity you expect to order, starting from the 300-unit minimum, the market where the product will be sold, the voltage and plug type for that market, the brand name and logo you want on the front panel and the machine body, and the packaging you need, noting that neutral packaging is the standard for shipment. If you have artwork files for your logo, have them ready in a common format. If you do not have artwork yet, say so, because the panel and the logo can be prepared from your brand name and a clear description. With those points ready, the steps in this guide — inquiry, model and configuration, sample, artwork, production and testing, and shipment — can follow one after another without waiting for missing information.
Planning a purchase for your business? Send an inquiry through the form on this page and we will recommend the right model with full specifications and a quotation. Mob / WhatsApp / WeChat: +86 15920036975. Private label and OEM are available from 300 units.