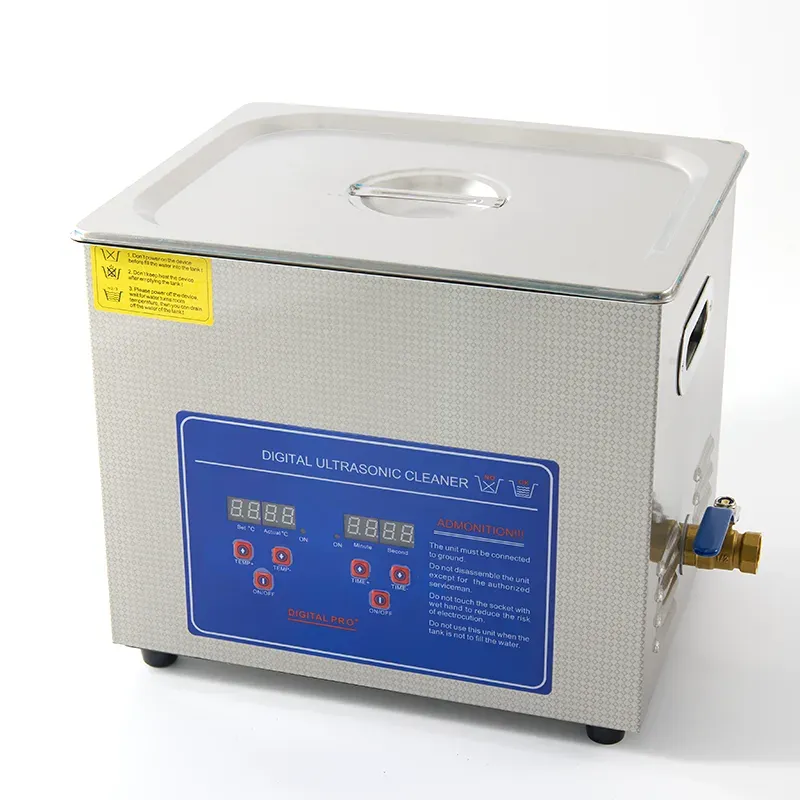
Ultrasonic Cleaner Maintenance Guide
A simple maintenance routine for your ultrasonic cleaner: draining and drying, descaling the tank, cleaning the basket and lid, storage, and when to contact your supplier.
An ultrasonic cleaner is a simple machine, and simple machines last longest when they are looked after in a simple way. Most of the wear on a tank, a basket, a lid or a heater does not come from cleaning itself. It comes from solution left standing in the tank, from limescale building up unnoticed, from a basket that is never rinsed, or from a machine that is put away wet and forgotten for months. This guide sets out a maintenance routine that takes only a few minutes after each use, explains how to deal with limescale, how to look after the basket and the lid, how to store a machine you do not use often, and how to work through the most common problems: no heat, more noise, and weaker cleaning. It also explains which situations are worth contacting your supplier about, and what information to have ready when you do.
After Every Use: Drain and Dry
The single most useful habit is to drain the tank after every session. Switch the machine off, let the solution cool if the heater has been on, and drain the liquid through the drain valve where the machine has one, or lift the tank carefully and pour it away where there is no valve. Do not leave dirty solution standing in the tank overnight, and do not leave it for days between sessions. Used solution holds the dirt it has removed, and as it cools and evaporates it leaves a film on the tank walls, on the heater and around the drain. That film hardens over time, dulls the stainless steel, and can start to smell. Fresh solution also cleans better, so a tank that is drained and refilled will give more consistent results than one that is topped up again and again.
Once the tank is empty, wipe it out with a soft cloth. Use clean water for the wipe, and dry the inside of the tank as far as you can reach. Pay attention to the corners and to the line where the liquid level sat, because that is where residue collects first. Wipe the outside of the machine too, especially around the control panel and the power socket, and make sure no liquid has splashed onto the controls. Leave the lid off or ajar for a while so the tank can air-dry completely before you put the machine away. A tank that is put away damp will hold moisture inside, and moisture is what allows spots, odours and surface marks to form on stainless steel and on the basket.
Dealing with Limescale in the Tank
Limescale is the pale, chalky deposit left behind by hard water. It builds up slowly, so it is easy to miss until the tank walls feel rough and the heater looks coated. A thin layer of scale on the tank is mostly a cosmetic problem, but a thick layer can insulate the heater, make heating slower and less even, and give the tank a dull, patchy finish. The simplest way to slow it down is to change the solution regularly and to wipe the tank dry after use, as described above. If your tap water is very hard, using filtered or distilled water for the final rinse, and for the cleaning solution where that is practical, will also reduce how fast scale forms.
When scale has already formed, remove it with a descaling solution made for stainless steel tanks, following the instructions on its label. Run a short cycle with the descaling solution where the label allows it, then drain the tank, wipe it out and rinse it well with clean water before refilling it with normal cleaning solution. Do not use a metal scraper, steel wool or an abrasive pad on the tank, because scratches in stainless steel catch dirt and scale more easily, and they are hard to remove. Work on the tank in sections if it is large: in a busy workshop, a larger tank such as the 30L Digital Ultrasonic Cleaner with Heater and Degas is cleaned the same way, in sections, so no part of the tank is missed. If the scale does not come off after a gentle treatment, repeat the treatment rather than forcing it with a stronger mix or a hard tool.
The Basket and the Lid
The basket carries the parts, so it collects as much dirt as the tank does. Rinse the basket under clean water after every session and shake off the excess water before you put it back. Look through the mesh or the holes for trapped particles, especially after cleaning parts that shed fibres, compound or small fragments. A blocked mesh stops the sound waves from reaching the parts evenly, so a basket that looks clean on the outside can still clean unevenly if its openings are clogged. Wash the basket with warm water and a small amount of mild detergent when it looks dull or feels greasy, rinse it well, and let it dry completely before storing it. Do not put a wet basket back into a dry tank and close the lid, because the trapped moisture will mark both.
The lid needs the same attention. Wipe the inside of the lid after use, because condensation and splashes collect there, and dry it before you put it back on the machine. Check the lid for cracks, warping or a seal that no longer sits flat, and check the hinges if the machine has them. A lid that does not close properly lets heat escape, lets solution evaporate faster and lets more noise out of the tank, so it is worth replacing a damaged lid rather than working around it. For a small countertop cleaner such as the SJ-A7 Ultrasonic Cleaner for Dentures and Jewellery — 400ml, the basket and lid are small enough to wash in a sink, and a quick rinse after each use is usually all they need. Keep spare baskets and lids in mind as wear parts: they are the pieces that are handled every day, so they are the first to show wear.
Storing a Machine You Do Not Use Often
A machine that is used every day stays in good condition almost by itself, because it is drained, wiped and refilled regularly. A machine that sits unused needs a little more care. Before you store it, drain the tank completely, wipe it dry inside and out, and clean and dry the basket and the lid. Leave the lid ajar so air can move through the tank, and store the machine in a dry place, away from direct sunlight and away from dust. Cover it with a clean cloth if the storage area is dusty, but do not seal it in plastic while it is still damp. Check the power cable for kinks, cuts or damage before you store the machine, and coil it loosely rather than winding it tightly around the unit.
When you bring a stored machine back into use, inspect it before you switch it on. Look inside the tank for dust, spots or any sign of moisture, wipe it out, and check that the drain valve is closed and the basket sits correctly. Fill the tank with clean water first and run a short cycle with no parts in it, so you can listen to the machine and check that the heater and the controls respond as usual. If the machine has been stored for a long time, run one or two short cycles with clean water before you clean valuable parts, and change the water between them. This gives you a chance to notice anything unusual before it matters.
Troubleshooting: No Heat, More Noise, Weaker Cleaning
If the machine does not heat, start with the simple checks. Make sure the tank is filled to the fill line, because a heater that is not covered by liquid may not switch on, and running a heater dry can damage it. Check that the temperature is set above the temperature of the room, and give the machine time: a large tank of cold water takes a while to warm up, and the display may move slowly at first. Check the power supply and the controls, and make sure no timer or standby setting is stopping the heater. If the machine still does not heat after those checks, switch it off, let it cool, and contact your supplier rather than opening the case. The heater and its wiring are inside the unit, and opening the case can be unsafe and can affect the machine.
If the machine has become louder, or the sound of the cleaning has changed, look for the simple causes first. A basket resting on the tank floor, parts touching the tank walls, or a lid that is not sitting flat can all make the machine rattle or buzz. Lift the basket, reposition the parts so they do not touch the tank, and check that the machine is sitting on a flat, stable surface. A change in the solution can also change the sound: a tank that is too full, a solution with too much foam, or a tank that needs fresh solution can all sound different from usual. Weaker cleaning usually has a similar list of causes: old or dirty solution, an overloaded basket, parts packed too tightly, a tank that is too full or too empty, or a thick layer of limescale on the tank. Work through that list one step at a time, changing the solution and reducing the load first, because those two steps solve most cases of weak cleaning.
When to Contact Your Supplier
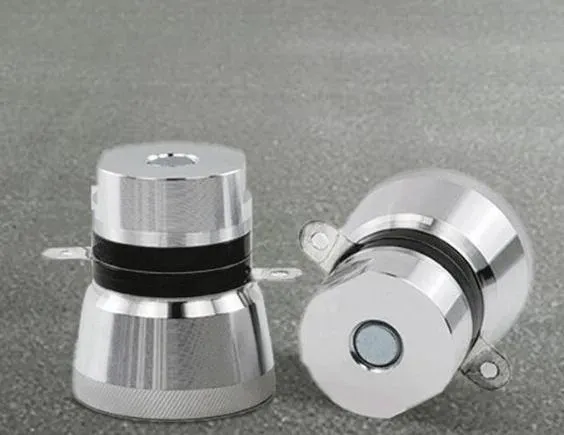
Contact your supplier when the simple checks have not solved the problem, or when the problem involves the inside of the machine. That includes a heater that does not heat at all, a machine that trips the power, a control panel that does not respond, a transducer that has come loose, a leak from the tank or the drain valve, and any burning smell or visible damage to the cable, the plug or the case. Do not keep running a machine that smells of burning, leaks, or trips the power, and do not open the case to look inside. Switch it off, unplug it, drain the tank if it is safe to do so, and describe the problem to your supplier. It helps to have the model, the tank size, what the machine was cleaning, what you have already tried, and when the problem started. A clear description, and a short note of what the machine was doing when the problem appeared, will help your supplier advise you on the next step, whether that is a replacement part, a repair, or a replacement machine.
Planning a purchase for your business? Send an inquiry through the form on this page and we will recommend the right model with full specifications and a quotation. Mob / WhatsApp / WeChat: +86 15920036975. Private label and OEM are available from 300 units.