Applications
Ultrasonic Cleaners for Tattoo and Piercing Studios
An ultrasonic cleaner for tattoo equipment removes ink and body fluids before sterilisation. Learn the pre-cleaning routine, basket use and studio models.
An ultrasonic cleaner for tattoo equipment is a cleaning tool, not a steriliser, and that distinction should come first in any studio routine. Ultrasonic cleaning removes ink, dried pigment, and body fluids from reusable metal parts before sterilisation, and it does that job well. It does not sterilise those parts, and it does not replace the autoclave step that must follow. A studio that understands this order can use ultrasonic cleaning to prepare grips, tubes, and other reusable metal parts for the sterilisation step that comes next, while a studio that treats cleaning as sterilisation would leave a serious gap in its routine. This guide explains how ultrasonic cleaning fits into a tattoo and piercing studio, what it can remove, why that removal matters before sterilisation, and how to choose and use a cleaner in a small, client-facing workspace. The routine described here is a cleaning routine. Sterilisation is a separate step, carried out afterwards in an autoclave, following the guidance of the autoclave maker and the studio's own procedures.
Cleaning Before Sterilisation: What Ultrasonic Cleaning Does, and What It Does Not Do
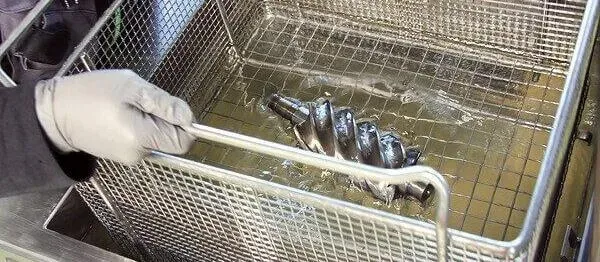
Ultrasonic cleaning works by sending high-frequency sound waves through a cleaning liquid. The rapid changes in pressure form and collapse tiny bubbles, and the collapse lifts soil from surfaces, threads, and narrow joints that a brush or a wipe cannot reach evenly. For a tattoo grip, that means ink and dried pigment can be lifted from the knurled surface and from the thread where the grip meets the tube. For a tube, it means residue inside the bore and around the tip can be loosened and carried away by the liquid. The result is a visibly cleaner part, with soil removed from the places where it tends to collect, rather than only from the open surfaces that are easy to wipe.
What ultrasonic cleaning does not do is equally important. It does not sterilise. It does not make a part safe for reuse on its own, and it should never be described as a sterilisation step. After ultrasonic cleaning, a reusable part still needs to be rinsed, dried, inspected, and then put through sterilisation in an autoclave, following the autoclave maker's guidance and the studio's procedures. Cleaning is the first step, and sterilisation is the second. Keeping those two steps separate, in the right order, is the foundation of a sound studio routine, and any description that blurs them would mislead the reader and the studio.
What Needs Cleaning in a Tattoo and Piercing Studio
The parts that benefit most from ultrasonic cleaning are the reusable metal parts of a tattoo and piercing setup. Grips are a clear example. A grip is held throughout a session, and ink, pigment, and body fluids can collect on its surface, in its texture, and around its thread. Tubes are another example. A tube carries ink during a session, and pigment can dry inside the bore and around the tip if it is not cleaned promptly. Other reusable metal parts, such as tips and small fittings that are designed to be reprocessed, can also carry soil in their joints and narrow passages. These are the parts where ultrasonic cleaning earns its place, because the liquid can reach into the small spaces that hand cleaning misses.
Not every item in a studio belongs in an ultrasonic cleaner. Single-use items are used once and then disposed of, and they are not cleaned for reuse. Parts that are not designed to be reprocessed, parts with damage, and parts that the maker says should not be immersed should be kept out of the tank. A simple sorting habit helps: after a session, reusable metal parts are set aside for cleaning, single-use items are disposed of, and anything that is damaged or unsuitable for immersion is separated and dealt with by the studio's own procedure. Cleaning only the parts that are meant to be reprocessed keeps the routine clear and avoids damage to parts that were never meant to enter a tank.
Why Pigment and Body Fluids Must Be Removed Before Sterilisation
Pigment and body fluids are not just a matter of appearance. Tattoo ink dries quickly, and once it has dried in a thread or inside a tube, it forms a layer that can hold further soil and can hide the surface beneath it. Body fluids dry in a similar way, leaving a film in joints and narrow passages. If that soil is left in place, the sterilisation step that follows has to work through it, and a layer of dried soil can stand between the sterilising agent and the surface of the part. That is why cleaning comes first. A part that is visibly clean, with pigment and fluids removed from its surfaces and joints, gives the autoclave a clean surface to work on, and it allows the studio to inspect the part properly before it is packed for sterilisation.
Cleaning first also makes the whole routine easier to check. A grip that has been through an ultrasonic cycle can be looked at in good light, and any pigment left in a thread or any film left inside a tube can be seen and dealt with before the part moves on. If a part is put into sterilisation while it still carries visible soil, that soil will still be there afterwards, and the part will need to be cleaned and put through the process again. A short ultrasonic cycle at the right time, followed by a rinse and an inspection, is therefore not an extra step for its own sake. It is the step that prepares the part for sterilisation, and it is the step that makes the later step meaningful.
Choosing a Cleaner for a Small Studio: Quiet and 3L Digital Models
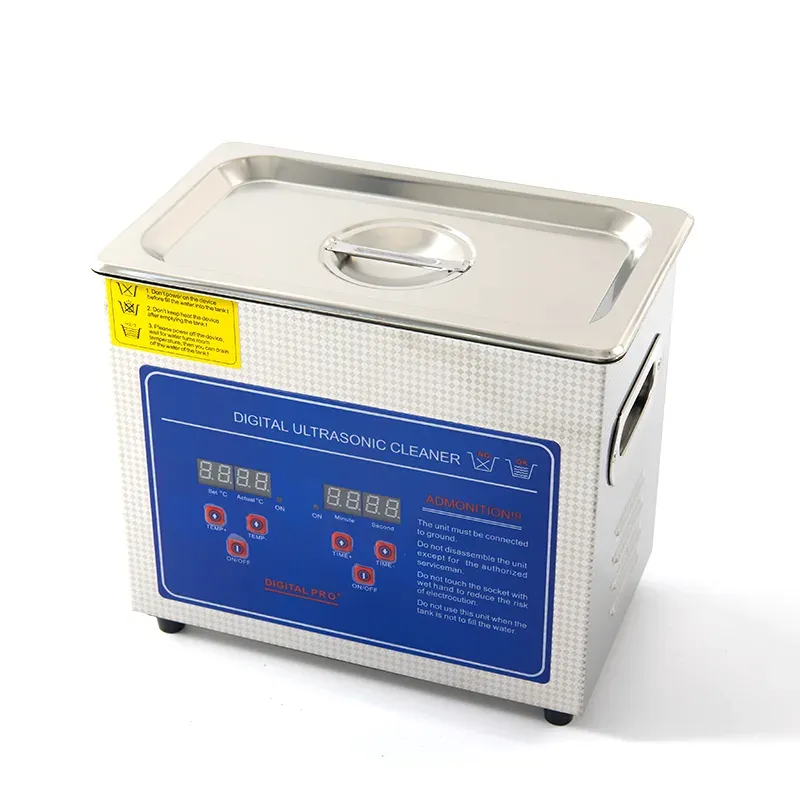
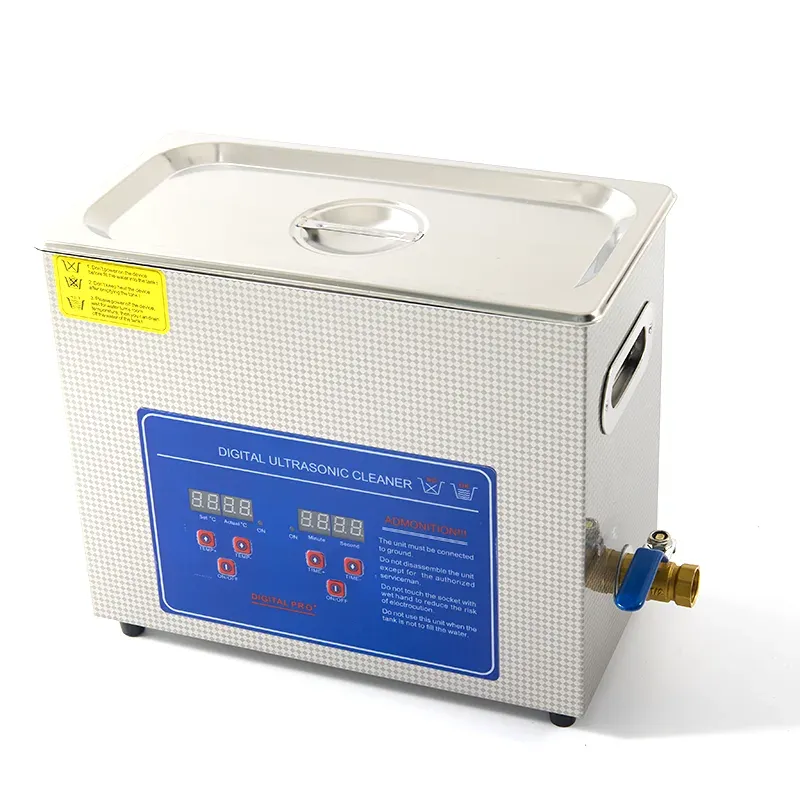
A tattoo and piercing studio is a small, client-facing workspace, and the cleaner chosen for it should suit that setting. Noise is one consideration. A studio has clients in the room, conversations taking place, and a calm atmosphere to maintain, so a cleaner that runs quietly is easier to live with than a loud one. A Quiet Ultrasonic Cleaner is designed for that kind of setting, and it can run a cleaning cycle without dominating the room. Its size also matters. A studio does not need a large industrial tank for a handful of grips and tubes, and a compact cleaner that fits on a bench or in a back room is easier to place, to fill, and to keep clean.
A 3L Digital Ultrasonic Cleaner suits the small loads that a studio usually runs. Three litres gives room for a grip, a tube, and a few small fittings in one load, without taking up a large amount of bench space. A digital panel helps the operator keep the settings consistent from one cycle to the next, so each load is cleaned in the same way. The choice between a quiet model and a small digital model depends on the studio: a studio that values a calm room may lean towards the quiet model, while a studio that values a clear digital display and a small, repeatable load may lean towards the 3L digital model. Either way, the cleaner should be chosen for the loads the studio actually runs, not for a larger job that it never sees.
Using the Basket, the Liquid, and a Simple Studio Routine
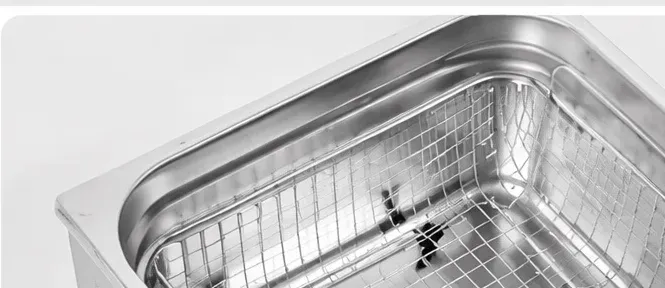
A basket is a small part of the setup, and it makes a real difference. Reusable metal parts should be placed in the basket, not dropped loose into the tank, and they should be separated so that they do not knock against one another during a cycle. Grips and tubes can be damaged by repeated contact, and a basket keeps them apart while still allowing the liquid to move freely around them. Parts should not be piled on top of one another, and each part should be fully covered by the cleaning liquid. A suitable cleaning liquid should be used, and the guidance from the liquid maker and the cleaner maker should be followed, including the amount to use and the way to handle it.
A simple routine ties these choices together. After a session, reusable metal parts are sorted, placed in the basket, and cleaned in the ultrasonic cleaner. They are then rinsed, dried, and inspected in good light. Only after that inspection are they packed for sterilisation in the autoclave, following the autoclave maker's guidance. The tank should be emptied and cleaned between sessions, and the work area should be kept tidy, with gloves used while handling used parts. A routine that is written down, followed in the same order each time, and checked by inspection is easier for a studio team to follow than a routine that changes from one day to the next, and it keeps the cleaning step where it belongs: before sterilisation, never in place of it.
In conclusion, an ultrasonic cleaner for tattoo equipment is a valuable tool for a tattoo and piercing studio when it is used in its proper place. It removes ink, pigment, and body fluids from reusable metal parts, reaches into threads and tubes that hand cleaning misses, and prepares those parts for the sterilisation step that must follow. It does not sterilise on its own, and no studio should treat it as a substitute for an autoclave. With a quiet or small digital model, a basket that keeps parts apart, and a simple routine of clean, rinse, dry, inspect, and then sterilise, a studio can keep its reusable parts in good order and keep its cleaning and sterilisation steps in the right order.
Planning a purchase for your business? Send an inquiry through the form on this page and we will recommend the right model with full specifications and a quotation. Mob / WhatsApp / WeChat: +86 15920036975. Private label and OEM are available from 300 units.