Applications
How to Clean Carburettors in an Ultrasonic Cleaner
Learn how an ultrasonic cleaner for carburettor parts removes fuel residue and varnish, with safe setup, solution and drying steps for workshop use.
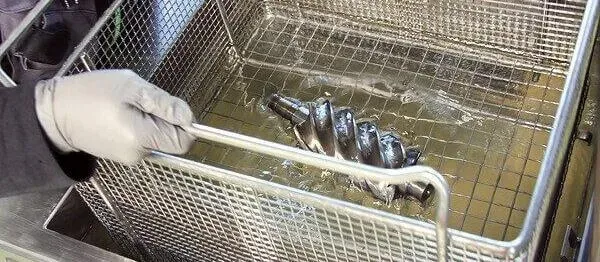
A carburettor that has sat through a season of stale fuel rarely responds to a brush and a spray can. Varnish, gum and fine grit settle in jets, emulsion tubes and air passages that fingers and bristles cannot reach, so the engine hunts at idle, hesitates when the throttle opens and wastes fuel that should have become smooth power. An ultrasonic cleaner for carburettor work reaches those hidden passages in a different way, using high-frequency sound waves in a heated cleaning solution to loosen deposits from metal surfaces without scraping or forcing tools through delicate openings. This guide explains how a workshop can use that process well, from strip-down and inspection to rinsing, drying and a careful final check, and it shows where a heated digital tank earns its place on the bench.
Why Varnish and Fuel Residue Resist Brushing
Fuel left in a carburettor does not stay as liquid for long. As the lighter parts evaporate, the residue thickens into varnish and gum that clings to brass jets, throttle plates and the walls of small passages. Heat from the engine bakes that film harder, and dust drawn in with intake air adds a gritty layer that a brush can smear rather than remove. A bristle may polish the outside of a jet while the hole through its centre stays partly closed, and a wire pushed through that hole risks enlarging it or leaving a scratch that changes how fuel flows. That is why a carburettor can look clean on the bench and still run badly on the engine, with a rough idle, a flat spot in the middle of the rev range and a tendency to stall when the throttle closes.
Ultrasonic cleaning works on a different principle. A transducer in the tank creates rapid pressure changes in the solution, and tiny bubbles form and collapse against the metal. That action, often called cavitation, lifts softened deposits from surfaces and from inside narrow drillings without the need for a brush to reach them. The part is not scrubbed, and no tool is forced through a jet, so the original size of each opening is more likely to stay as the maker intended. The process still needs a sensible solution, enough heat and enough time, and it still needs the part to be stripped down first, because a sealed assembly can trap solution and hide the very passages that need attention. Used with that care, it turns a job that used to take repeated soaking and picking into a repeatable bench routine.
Strip the Carburettor Down Before It Goes in the Basket
Start on a clean bench with space to lay parts out in order. Take a photograph before you remove anything, and keep screws, springs and small clips in labelled trays so that each part returns to the place it came from. Remove the float bowl, the main and pilot jets, the needle, the float and any mixture screws, and note how many turns each screw was seated so that the settings can be put back close to where they were. Take out rubber seals, O-rings, gaskets and diaphragms before cleaning, because heat and cleaning solution can swell or damage soft parts that were never meant to be immersed. If a part is already cracked, worn or corroded, set it aside for replacement rather than expecting the tank to repair it.
Place the stripped metal parts in the basket or in a fine mesh holder, and do not pile them on top of one another. Parts that touch can shield each other from the solution, and a small jet that slips through the basket can fall to the bottom of the tank. Keep the load below the rim, keep air passages facing the solution, and leave room for the liquid to move around each piece. A calm, ordered load is easier to rinse, easier to dry and far easier to reassemble without a missing screw.
Choosing a Heated Digital Tank and Setting the Cycle
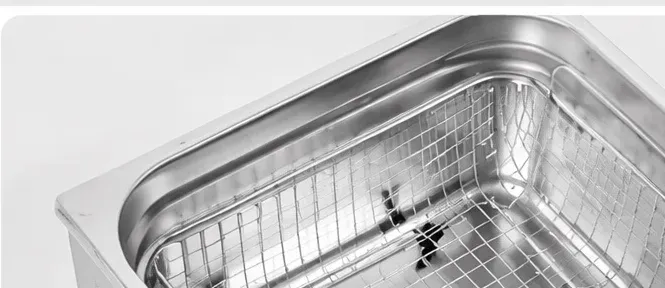
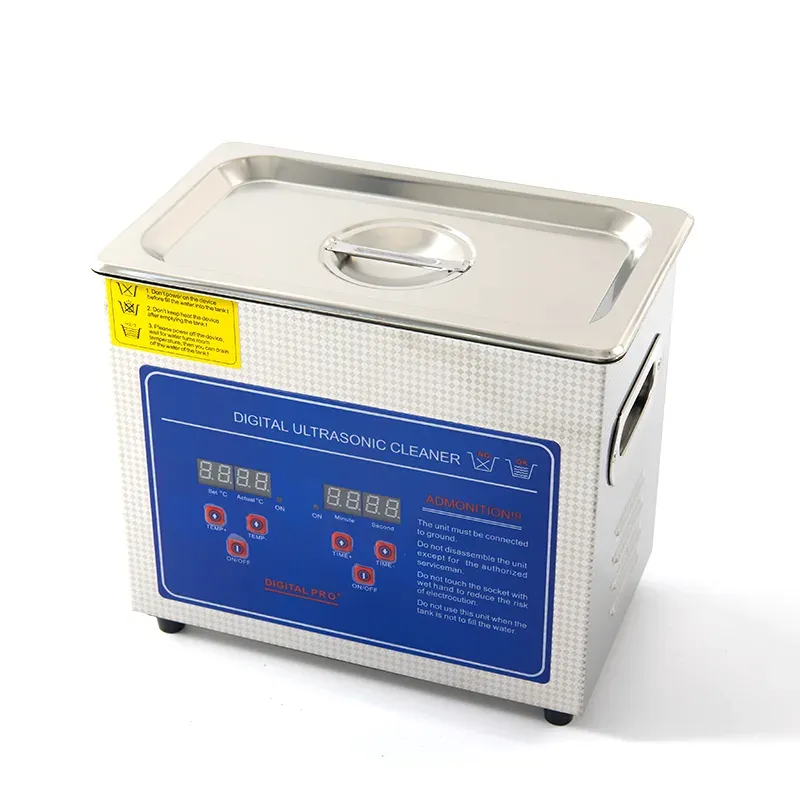
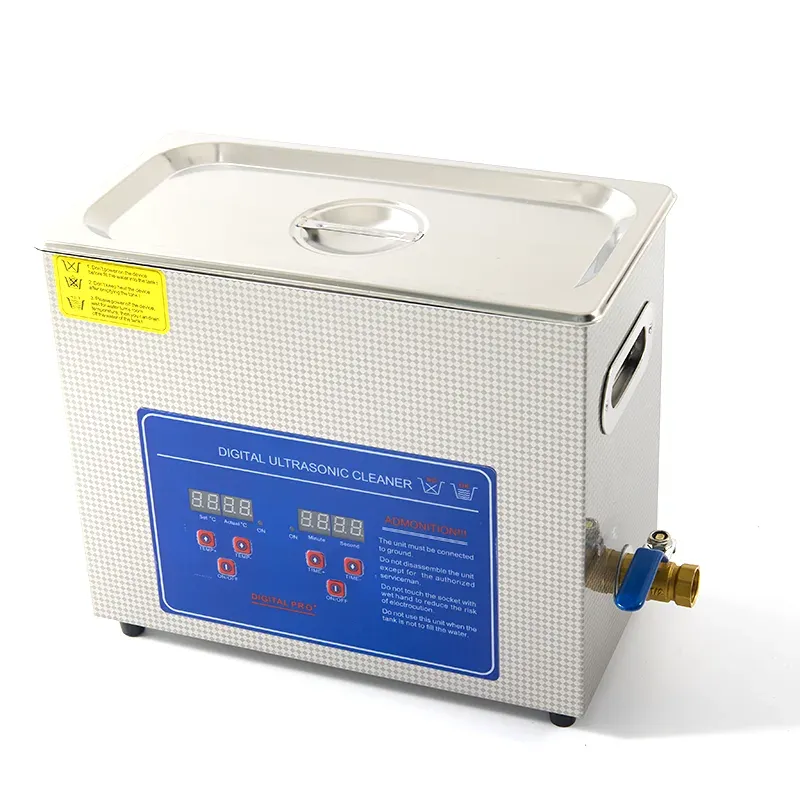
- The tank must be large enough for the carburettor body to sit fully immersed in the basket without touching the tank floor or the sides. For a single small carburettor and its jets, a 6L digital ultrasonic cleaner is a common bench choice, while a larger body or a set of parts cleaned together is often easier in a 10L digital ultrasonic cleaner. A digital model lets the operator set the temperature and the timer in a repeatable way, and a heated tank can reach 80 degrees Celsius, which helps a suitable solution soften varnish that cold liquid leaves behind. Heat is a tool, not a shortcut, so the temperature should suit the solution and the metal, and the guidance that comes with the machine and the solution should be followed first.
Set the timer for a short cycle and inspect the parts before running another one. Keep the solution level between the marks in the tank, put the lid on while the cycle runs to limit evaporation and spray, and work in a ventilated area away from open flames. Never run the tank without solution, and never put petrol or any other flammable liquid in the tank. Those liquids do not belong in an ultrasonic cleaner, and a workshop should treat that rule as absolute, however dirty the part looks.
Solution, Time and Temperature in Practice
Choose a cleaning solution made for metal parts and for carburettor work, and mix it at the dilution the maker of the solution recommends. A solution that is too weak will leave varnish behind, while a solution that is too strong can dull or stain some metals, so a short test on a less visible area is worth the time it takes. Change the solution when it turns cloudy or carries a heavy load of loosened dirt, because a dirty bath cleans slowly and can leave a film on parts that were almost clean. Rinse water should be clean as well, and used solution should be handled and disposed of in line with local rules for workshop waste.
Drying, Inspection and Reassembly
Lift the basket out and rinse the parts in clean water, then blow them dry with clean compressed air, paying close attention to jets and drillings where liquid can hide. A part that looks dry on the outside can still hold moisture in a passage, and that moisture can cause rough running when the engine is started again. Hold each jet up to the light, blow air through it, and check that the hole is clear and round. If a passage still looks blocked, run a further short cycle rather than forcing a wire through it, and keep a note of which parts needed a second pass.
Reassemble in the reverse order of the strip-down, fitting new gaskets and seals where the old ones were worn or compressed. Tighten brass screws gently, because the threads are easy to damage, and return mixture screws to the settings noted at the start. Check the float level and the idle setting against the guidance for that carburettor, then test the engine and look for leaks around the bowl and the joints. A careful reassembly protects all the work that the tank has done, and it is the step that turns a clean part into a carburettor that runs as it should.
In conclusion, ultrasonic cleaning does not replace good workshop habits, but it does make them easier to keep. Strip the carburettor down, keep soft parts out of the tank, choose a heated digital tank of the right size, use a suitable solution at a sensible temperature, and finish with thorough drying and a patient inspection. Done in that order, the process gives a workshop a repeatable way to deal with varnish and fuel residue, and it leaves the jets and passages in a condition that a brush alone could not reach.
Planning a purchase for your business? Send an inquiry through the form on this page and we will recommend the right model with full specifications and a quotation. Mob / WhatsApp / WeChat: +86 15920036975. Private label and OEM are available from 300 units.