Applications
Ultrasonic Cleaning for Vinyl Records
Learn how an ultrasonic vinyl record cleaner lifts dust from grooves, with distilled water, a record spindle, slow rotation and careful drying.
A vinyl record that crackles through every quiet passage is not always a worn record. Dust, mould release residue and tiny fibres settle deep in the grooves, where the stylus must travel, and a dry brush can only reach the surface of the groove wall. An ultrasonic vinyl record cleaner works in a different way, holding the record in a tank of cleaning solution while sound waves create tiny bubbles that lift loose dirt from the groove without the need to scrub the surface. This guide explains how that setup is used in practice, from the tank and the spindle to the solution, the rotation, the rinse and the drying, and it is honest about what cleaning can and cannot do for a record.
Why Grooves Hold Dust That a Brush Cannot Reach
A record groove is a narrow, winding valley, and the music is cut into its walls. Dust that falls into that valley is held in place by static and by the fine film left behind when a record was pressed, and a brush that passes across the top can push that dust along the groove rather than lift it out. A cloth can do the same, and a brush with stiff bristles can leave its own marks if it is pressed too hard. The result is a surface that looks clean under a lamp but still produces clicks, pops and a dull, muffled sound, because the stylus is still meeting dirt at the bottom of the groove.
Wet cleaning reaches further, because a liquid can flow into the groove and carry dirt away, and ultrasonic cleaning adds movement to that liquid at a very small scale. The bubbles formed in the tank collapse against the surface of the record and loosen dirt that a brush would have to touch to remove, and they do so across the whole groove at once. The record is not scrubbed, the groove walls are not scraped, and the cleaning action is the same on the first track as it is on the last. That even action is the reason many collectors turn to this method when dry cleaning no longer brings a record back to a listenable state.
Setting Up a 6L Tank With a Record Spindle
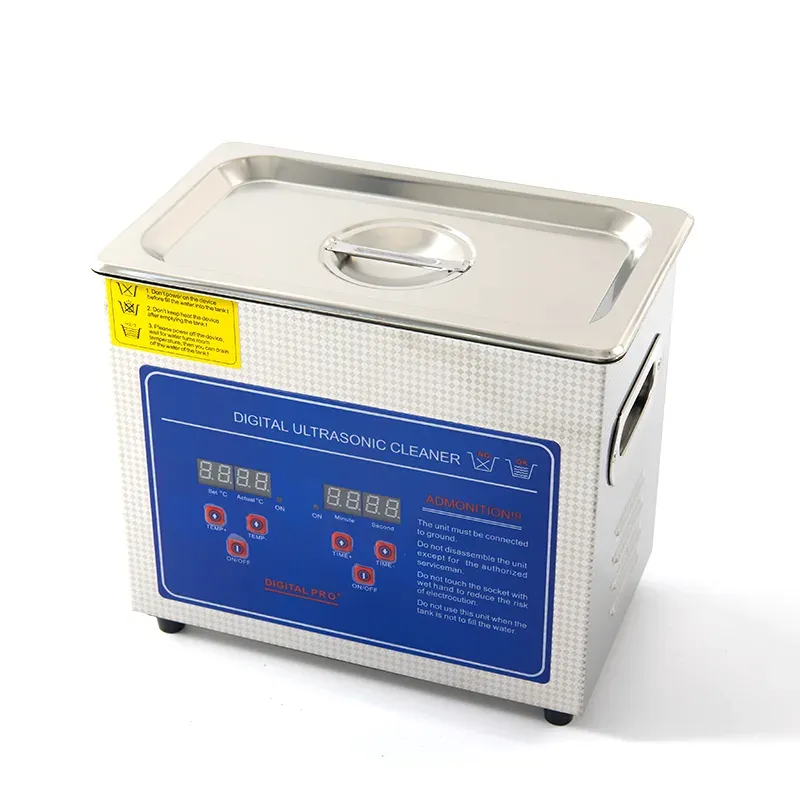
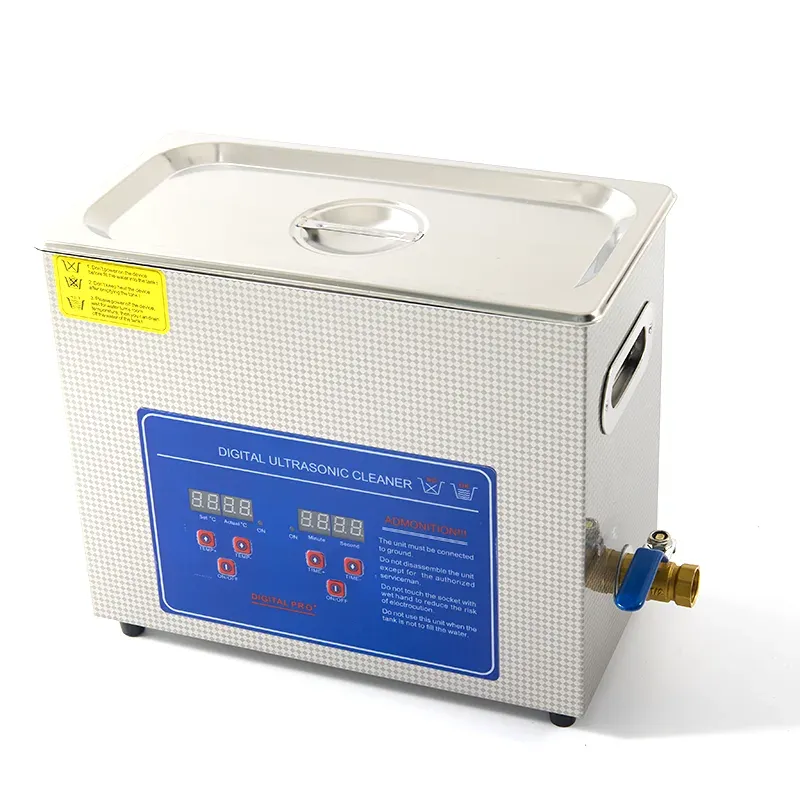
A record needs a holder that keeps the label dry and lets the grooved surface hang down into the solution. In common practice, a 6L tank is fitted with a record spindle or a simple rotating rack that holds one or two records by their centre holes, with the label area kept above the liquid level. The records should hang freely, without touching the tank walls or each other, and the spindle should turn slowly and steadily so that every part of the groove spends time in the solution. A 6L digital ultrasonic cleaner is a common size for this work, because its tank is wide enough for a standard record to sit in the bath while the label stays clear of the liquid.
Check the fit before the solution is mixed, and check that the spindle turns smoothly by hand. The record should be secure, but it should not be clamped so tightly that the centre hole is stressed, and the label should be protected from splashes. Place the tank on a stable bench, keep the mains lead clear of the liquid, and work in a place where a spill can be wiped up without reaching other equipment. A calm, level setup makes the rest of the process easier to repeat, and it reduces the chance of a record slipping or a label getting wet.
Solution: Distilled Water and a Small Amount of Surfactant
Tap water can leave mineral marks on a record when it dries, so distilled water is the usual base for a record cleaning solution. A small amount of surfactant, a wetting agent made for cleaning, helps the water spread into the groove and helps dirt stay suspended in the liquid instead of settling back onto the surface. Only a small amount is needed, and the amount recommended by the maker of the surfactant should be followed, because too much can leave a film that is itself hard to rinse away. A record cleaning solution should be clear, and it should be changed when it becomes cloudy or carries a visible load of dirt.
Do not use strong solvents, abrasive powders or household cleaners that were not made for records, and do not add anything to the tank on a guess. A solution that is too strong can affect the surface of the record, and a solution that is too weak will leave dirt behind, so the middle course is the sensible one. Keep a record of the mixture that works for your records, so that the next batch is made in the same way, and keep the solution covered when it is not in use.
Slow Rotation, Batch Cleaning and Timing
Slow rotation matters, because a record that sits still in the tank will be cleaned well in one place and less well in another, while a record that turns too fast can throw solution onto the label. A slow, steady turn lets each section of the groove pass through the most active part of the bath, and it lets the operator watch the record and the solution without rushing. Clean records in small batches, rather than loading the tank with as many records as it can hold, because each record needs space around it for the solution to move, and a crowded tank cleans slowly.
Run a short cycle first, lift the record out, and look at the surface and the solution before deciding whether another short cycle is needed. A record that was very dirty may need a second pass with fresh solution, while a record that was only lightly dusty may be finished after the first. There is no single time that suits every record, and the condition of the record, the strength of the solution and the temperature of the bath all play a part. Patience and inspection matter more than a long, single run.
Rinsing and Drying Without Leaving Marks
After cleaning, rinse the record in clean distilled water to remove any remaining solution, and do not let cleaning solution dry on the surface. Hold the record by its edges and its label area, and let the rinse water run off before drying. Dry the record in a clean, dust-free place, standing it upright in a rack so that air can reach both sides, and let it dry fully before it is sleeved or played. A lint-free cloth can be used to take off large drops, but it should be laid gently on the surface rather than rubbed in circles, because rubbing can leave marks and can push dust back into the groove.
Do not play a record while it is still damp, and do not put a damp record into a paper sleeve, because moisture can be trapped against the surface. Check the record under a lamp once it is dry, and look for water marks or any remaining dirt before it is stored. A record that has been cleaned, rinsed and dried well should sound clearer, with less crackle in quiet passages, and it should be easier to keep clean in future, because there is less dirt for new dust to cling to.
It is important to be clear about the limits of this method. Ultrasonic cleaning cannot repair a scratch, it cannot fill a groove that has been worn, and it cannot stop a record from skipping when the stylus meets a deep scratch or a damaged groove wall. Cleaning removes dirt, and dirt is only one of the reasons a record can sound poor. A scratched record may sound better after cleaning, because dirt in the scratch is gone, but the scratch itself will still be there, and a buyer or a listener should be told that plainly.
In conclusion, cleaning a vinyl record well is a matter of setup, solution and patience rather than force. A 6L tank with a record spindle, distilled water with a small amount of surfactant, slow rotation, small batches and careful rinsing and drying will bring many dirty records back to a listenable state, and it will do so without scrubbing the groove. Keep the label dry, keep the solution clean, inspect each record after a short cycle, and remember that cleaning is for dirt, not for damage.
Planning a purchase for your business? Send an inquiry through the form on this page and we will recommend the right model with full specifications and a quotation. Mob / WhatsApp / WeChat: +86 15920036975. Private label and OEM are available from 300 units.