Applications
How to Clean Fuel Injectors with an Ultrasonic Cleaner
Learn how an ultrasonic fuel injector cleaner removes carbon and gum, with 6 power levels, batch cleaning in 6L and 10L tanks, and flow-test tips.
An ultrasonic fuel injector cleaner can restore the spray pattern of an injector that has become clogged with carbon and gum, and it does so without taking the injector apart with hand tools. A fuel injector is a small, precise part. It meters fuel and sprays it in a fine pattern, and even a thin layer of deposits inside its passages can change how it behaves. When deposits build up, an engine may run unevenly, respond slowly, or use more fuel than it should. Ultrasonic cleaning reaches into the narrow passages of an injector, lifts the deposits that hand cleaning cannot reach, and gives the injector a chance to work as it was designed to. This guide explains how deposits form, how ultrasonic cleaning works on an injector, how to choose a power level, how to clean several injectors at once, and how to check the result with a flow test.
How Carbon and Gum Build Up in a Fuel Injector
A fuel injector works in a demanding place. It sits close to heat, it handles fuel every time the engine runs, and its tip is exposed to the combustion chamber. Over time, fuel can leave behind gum, a sticky residue that forms as fuel ages and as heat acts on it. Carbon can also build up, especially around the tip, where heat is highest. These deposits do not arrive all at once. They grow slowly, layer by layer, and they first affect the smallest passages and the finest edges of the injector. A small change in a small passage can have a visible effect on the spray, because the spray depends on fuel passing cleanly through a precise opening.
The signs of a clogged injector are often gradual. An engine may idle unevenly, hesitate when the driver asks for more power, or feel less smooth than it used to. Starting may take longer, and the engine may use more fuel for the same work. These signs can have many causes, and deposits in the injectors are only one of them, so a careful workshop will check other causes as well before deciding that cleaning is the answer. When deposits are the cause, cleaning the injector is a practical step, and ultrasonic cleaning is a good fit because it can reach the passages where the deposits sit, rather than only cleaning the outside of the part.
How Ultrasonic Cleaning Lifts Deposits from Small Passages
Ultrasonic cleaning does not rely on scrubbing or on a strong jet. It sends high-frequency sound waves through a cleaning liquid, and the rapid changes in pressure form and collapse tiny bubbles. When those bubbles collapse near a surface, they produce a small, local cleaning action that can lift deposits from edges, holes, and narrow passages. Because the liquid surrounds the injector, the action reaches the inside of the passages as long as the liquid can flow there, as well as the tip and the outside of the part. That even reach is the main advantage over a brush, which can only clean where it touches, and over a spray, which can only clean the surfaces it reaches.
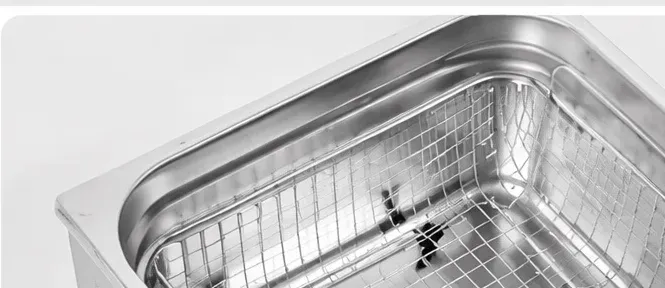
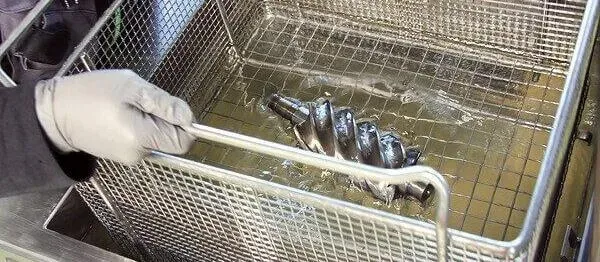
Good results depend on how the injector is placed in the tank. An injector should be held in a basket or a holder, not left loose on the bottom of the tank, so that the liquid can move freely around it and the cleaning action can reach all of its faces. Injectors should not be piled on top of one another, and each one should be fully covered by the cleaning liquid. A dedicated injector cleaning liquid should be used, and the guidance from the liquid maker and the cleaner maker should be followed. After a cycle, each injector should be lifted out carefully, rinsed if the liquid maker advises it, and inspected in good light. If deposits remain, a second short cycle is usually a better choice than a long, aggressive one.
Choosing the Right Power Level: Six Levels for Different Levels of Blockage
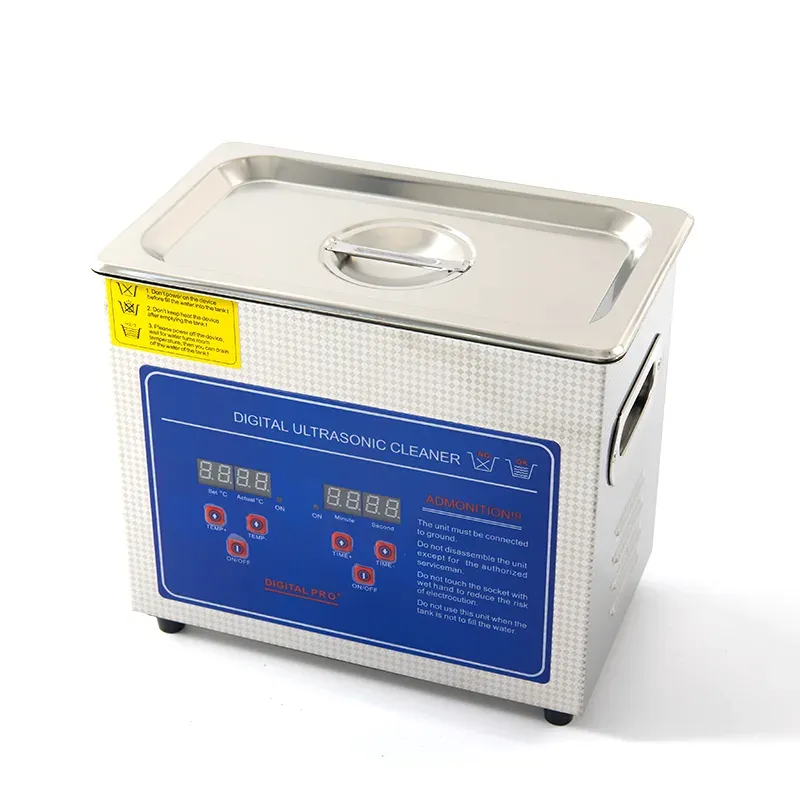
Not every clogged injector needs the same cleaning strength. A light deposit, caught early, may lift easily with a gentle cycle. A heavy deposit, built up over a long time, may need a stronger cycle to shift it. That is why a cleaner with adjustable power is useful for this work. An Adjustable Power Ultrasonic Cleaner offers six power levels, and the operator can match the level to the condition of the injector. A low level is a sensible starting point for an injector with light deposits, or for a first clean when the amount of build-up is not yet known. A middle level suits an injector with visible deposits that a gentle cycle has not fully removed. A high level is for an injector with heavy, stubborn deposits, and it should be used with more care and only when the injector can take it.
A practical routine is to start low and step up only when needed. Begin with a low power level and a short cycle, then take the injector out and inspect it. If the deposits have gone, there is no need to move to a higher level. If deposits remain in the passages or around the tip, try a second cycle at the same level, or move up one level at a time. Testing the routine on the most lightly clogged injector first is a good habit, and notes about the level and the cycle that worked well will make the next clean faster and more consistent. The goal is the lowest level that gives a clean result, not the highest level the cleaner can offer, and a patient approach protects the injector while still removing the deposits that affect its spray.
Batch Cleaning with 6L and 10L Digital Models
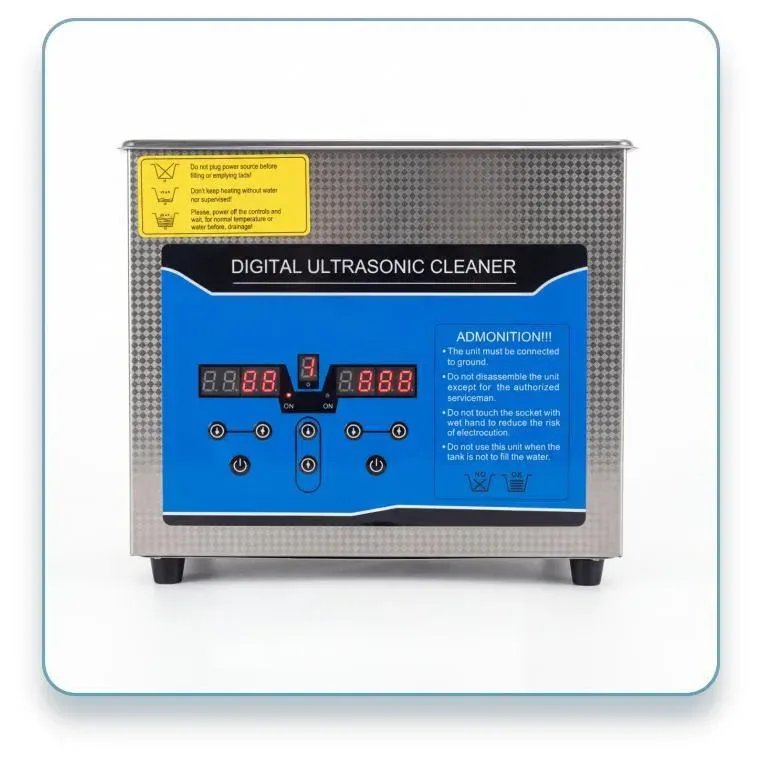
A workshop rarely cleans a single injector. An engine has a set of injectors, and they are usually removed and cleaned together, so that they can be checked as a set and returned to the engine in a matched condition. A larger tank makes that work easier. A 6L Digital Ultrasonic Cleaner gives room for a set of injectors in one batch, with a digital panel that helps the operator keep the settings consistent from one cycle to the next. The injectors can be placed in the basket with space between them, so that the liquid can move around each one and they do not knock against one another during the cycle.
For larger jobs, a bigger tank gives even more room. A larger digital model, with a ten-litre tank, can take a larger set or a set of larger injectors in one batch, and it follows the same routine: use a basket, keep the injectors separated, keep them fully covered by the liquid, and dry each one fully before it is handled or stored. Batch cleaning also makes comparison easier. When injectors from the same engine are cleaned in the same cycle, under the same settings, any difference between them after cleaning is easier to see, and that comparison is a useful part of the flow testing that follows. The same care still applies to every injector in the batch, and none of them should be powered on or fitted while any dampness remains.
Flow Testing Before and After Cleaning, and Staying Safe
A flow test is the usual way to check whether cleaning has worked. Before cleaning, each injector is tested to see how it sprays and how much liquid it delivers, and the results are noted for each injector in the set. After cleaning and drying, the same test is carried out again, under the same conditions, and the two sets of results are compared. An injector that was delivering unevenly before cleaning should deliver more evenly afterwards, and a set that was uneven should look more matched. The test does not need to be complicated to be useful. What matters is that the before and after tests are carried out in the same way, so that the comparison is fair, and that the results are written down for each injector, rather than remembered.
Safety comes first in this work, and one rule should never be broken. Never put petrol in the tank of an ultrasonic cleaner. Petrol is flammable, and an ultrasonic cleaner is not designed for it. Only a dedicated cleaning liquid, made for ultrasonic cleaning and suitable for fuel injectors, should be used in the tank, and the guidance from the liquid maker should be followed. The work area should be ventilated, gloves should be worn while handling used injectors and cleaning liquid, and injectors should be handled with care, as they are precise parts. A clean, tidy bench, a clear routine, and a firm rule about what goes into the tank will keep the work safe and the results reliable.
In conclusion, an ultrasonic fuel injector cleaner is a practical tool for a workshop that deals with clogged injectors. Carbon and gum build up slowly in the small passages of an injector, and ultrasonic cleaning can reach those passages and lift the deposits that change the spray. An Adjustable Power Ultrasonic Cleaner with six power levels lets the operator match the cleaning strength to the blockage, starting low and stepping up only when needed, while a 6L Digital Ultrasonic Cleaner handles a set of injectors in one batch. With a flow test before and after cleaning, and with a dedicated cleaning liquid and never petrol in the tank, a workshop can check its work, keep its routine safe, and return a set of injectors to service in a better condition than before.
Planning a purchase for your business? Send an inquiry through the form on this page and we will recommend the right model with full specifications and a quotation. Mob / WhatsApp / WeChat: +86 15920036975. Private label and OEM are available from 300 units.