Applications
Cleaning PCBs and Electronic Parts in an Ultrasonic Cleaner
Learn how an ultrasonic cleaner for PCB boards removes flux residue and fingerprints safely, with gentle half-wave settings, drying tips and ESD care.
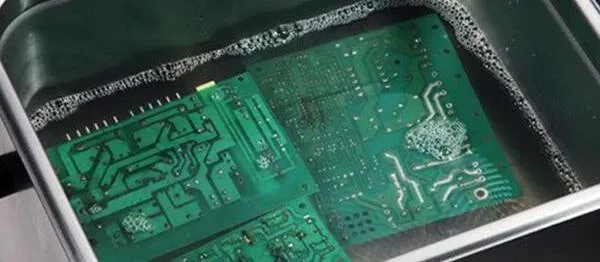
An ultrasonic cleaner for PCB boards and electronic parts can remove contamination that a brush, a wipe, or a spray often leaves behind. Flux residue, fingerprints, dust, and handling oils settle into the small spaces between components, under connectors, and around solder joints, where manual cleaning tools cannot reach evenly. When that residue stays in place, it can attract moisture, leave a sticky film, and make inspection, testing, and later repair work more difficult. Ultrasonic cleaning works in a different way. High-frequency sound waves create tiny bubbles in a cleaning liquid, and those bubbles collapse against surfaces, lifting loose material from gaps and edges without scrubbing. The result is a more even clean across a board, including areas that are hard to see or hard to reach. This guide explains what an ultrasonic cleaner can do for printed circuit boards and electronic parts, where its limits are, and how to use it with care. It also looks at power settings, drying, and handling, so a careful operator can get a clean board without putting delicate parts at risk.
What Flux Residue and Fingerprint Oil Do to a PCB
Soldering leaves flux on a board for a reason. Flux helps solder flow and join, yet the residue that remains after soldering is not a protective layer. It can be sticky, slightly acidic, or simply uneven, and it tends to collect dust and handling marks over time. Fingerprints add another layer. Skin oils transfer easily during handling, inspection, and packing, and they leave faint marks that are hard to see until light catches them at an angle. On a small board, those marks can sit across fine traces, around connector pins, and under components that were placed after the board was handled. A cloth can wipe the open surface, but it cannot reach under a low component or into the gap beside a header pin without pushing residue further in.
Residue also makes later work harder. A board that looks clean at a glance may still carry a film that interferes with a probe, a test clip, or a fresh solder joint during repair. Connectors are a good example. A thin layer of oil or flux around a pin can change how a mating connector seats, and cleaning the board before assembly or after repair helps the next step start from a clean surface. That does not mean every board needs ultrasonic cleaning. A board with light dust may only need a careful dry wipe or a gentle air stream. Ultrasonic cleaning earns its place when residue sits in places a wipe cannot reach, when a board has been handled many times, or when flux remains visible around joints after soldering. The aim is not to make a board look new at any cost. It is to remove the residue that affects inspection, contact, and further work, while leaving the board and its parts intact.
How Ultrasonic Cleaning Reaches Small Spaces
An ultrasonic cleaner does not clean by scrubbing or by a strong jet of liquid. It sends high-frequency sound waves through a cleaning liquid, and the rapid changes in pressure form and collapse tiny bubbles. When those bubbles collapse near a surface, they produce a small, local cleaning action that can lift loose residue from edges, holes, and narrow gaps. Because the liquid surrounds the board, the action reaches many surfaces at once, including the underside of a component and the space around a row of pins, as long as the liquid can flow there. That even reach is the main advantage over a brush, which only cleans where its bristles touch, and over a wipe, which only cleans the surface it passes over.
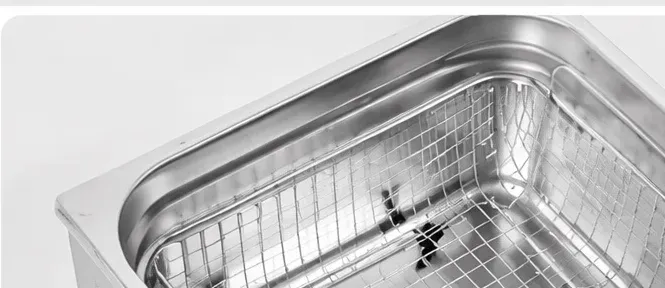
Good results still depend on how the board is placed in the tank. A board should rest in a basket or a holder, not flat on the bottom of the tank, so the liquid can move freely around it and the cleaning action can reach both faces. Parts should not be piled on top of one another, and the board should be fully covered by the cleaning liquid. A suitable cleaning liquid for electronics should be used, and the guidance from the liquid maker and the cleaner maker should be followed. After a cycle, the board should be lifted out carefully and inspected in good light. If residue remains in one area, a second short cycle is usually a better choice than a long, aggressive one, and a soft brush can help in an open area if the board allows it.
Half-Wave and Full-Wave: Choosing a Gentler or Stronger Setting
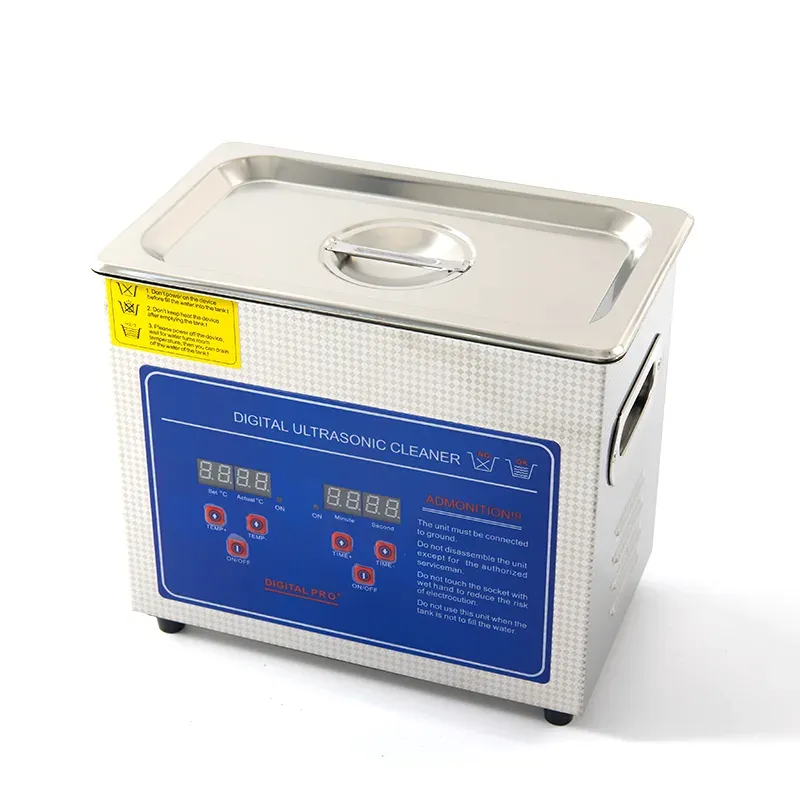
Some ultrasonic cleaners offer more than one power mode, and the choice matters for precision boards. A Dual Power Ultrasonic Cleaner can run in a half-wave mode and in a full-wave mode, and the two modes suit different jobs. Half-wave mode is the gentler setting. It is a sensible starting point for a delicate board, for a board with fine-pitch parts, or for a first clean when the type and amount of residue are not yet known. The cleaning action is still able to lift flux and fingerprint oil from small gaps, but it places less stress on the board and its joints. Full-wave mode is the stronger setting. It is better suited to stubborn residue that has hardened, to boards that have been stored for a long time, or to heavy flux left around many joints. The stronger action can reach residue that a gentle cycle leaves behind, yet it should be used with more care and only when the board and its parts can take it.
A practical routine is to start gentle and step up only when needed. Begin with the half-wave setting and a short cycle, then inspect the board. If the residue has gone, there is no need to move to the stronger mode. If a few stubborn spots remain, a second gentle cycle or a short full-wave cycle can be tried. Testing the routine on a less sensitive board first is a good habit, and notes about the setting, the liquid, and the cycle that worked well will make the next clean faster and more consistent. The goal is the lowest setting that gives a clean result, not the strongest setting the cleaner can offer.
Not Every Component Suits Ultrasonic Cleaning
Ultrasonic cleaning is a useful tool, but it is not suitable for every electronic part, and that limit should be taken seriously. Older components can be a concern, especially parts with aged seals, loose housings, or joints that have already weakened. Some sensors need extra care as well, because a sensor may contain a delicate membrane, a small opening, or an internal structure that should not be exposed to strong vibration or to liquid. A part with a display, a battery, or a moving element should be checked before it goes into a tank, and in many cases it should be removed or kept out altogether. When the maker of a component gives guidance on cleaning, that guidance should be followed before any ultrasonic cycle.
A short check before cleaning can prevent most problems. Look at the board for loose parts, cracked housings, and any component that is already damaged. Remove batteries and detachable parts that are not meant to be cleaned in liquid. Keep parts that are known to be sensitive out of the tank, and clean them by another method if they need attention. If there is doubt about a particular sensor or an older component, it is better to leave it out and clean the rest of the board by hand. A careful operator accepts that some parts are outside the scope of ultrasonic cleaning, and that a clean board is not worth a damaged component.
Drying and Handling After Cleaning
Drying is as important as the cleaning itself, and it should never be rushed. A board that looks dry on its surface can still hold liquid under a component, inside a connector, or in a small gap between pins. If that liquid stays in place, it can leave marks, attract dust, or affect the board when it is next powered on. A board should be allowed to dry fully, with air able to move around it, and it should not be powered on or packed away while any dampness remains. Gentle warm air can help, and a board should be placed so that liquid can drain away from its surface rather than pooling in one area. A second inspection after drying will show whether any residue or moisture is still present.
For larger jobs, a bigger tank makes the work easier. A 10L Digital Ultrasonic Cleaner gives room for a larger board or for several smaller boards in one batch, with a digital panel that helps the operator keep the settings consistent from one cycle to the next. The same rules still apply: use a basket, keep parts separated, and dry each board fully before it is handled or stored. Handling also deserves care. Boards should be held by their edges, and an electrostatic discharge safe work surface and wrist strap should be used where the workshop provides them. Clean, dry hands, a clear bench, and a simple routine for drying and storage will protect the result of the cleaning and keep the board ready for its next step.
In conclusion, an ultrasonic cleaner for PCB boards can be a practical way to remove flux residue and fingerprint oil from places a wipe cannot reach, as long as the operator chooses the setting with care and respects the limits of the parts. Start with a gentle half-wave cycle on a Dual Power Ultrasonic Cleaner, move to full-wave only for stubborn residue, keep sensitive and older components out of the tank, and allow every board to dry fully before it is used or stored. With that routine, a board can be cleaned evenly, inspected with confidence, and handed on to the next stage of assembly, testing, or repair in a better condition than before.
Planning a purchase for your business? Send an inquiry through the form on this page and we will recommend the right model with full specifications and a quotation. Mob / WhatsApp / WeChat: +86 15920036975. Private label and OEM are available from 300 units.